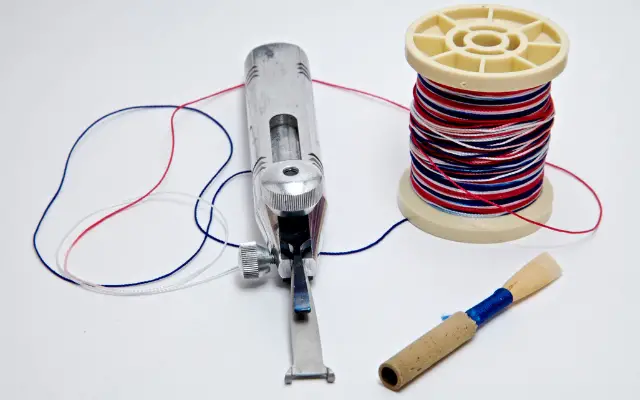
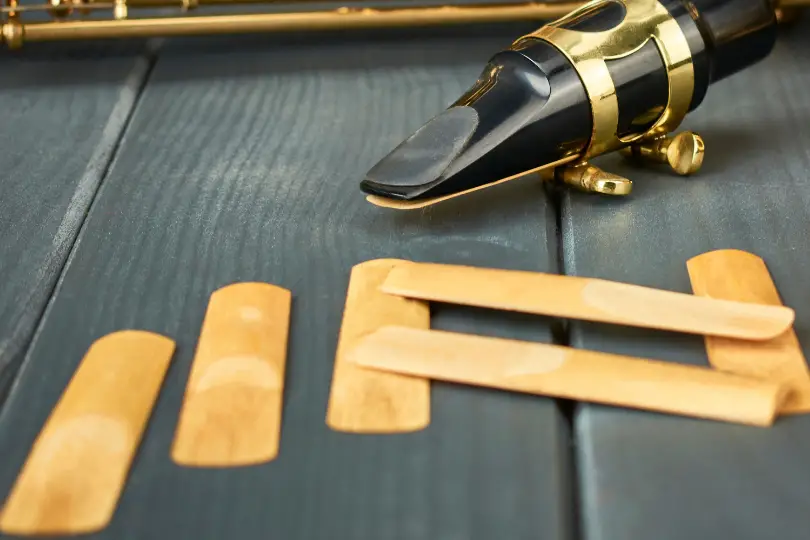
One of the big challenges to playing clarinet and saxophone is dealing with reeds. Within a box of 10 reeds, some are good, some need adjusting and some are unplayable. It can be a frustrating process. At some point, you may choose to start making your own reeds.
Some single reed players make their own reeds using nothing more than a reed knife, sandpaper and a reed clipper. Others begin with a reed blank, then use a reed profiler to make the reed match a template. Both approaches require adjusting the tip and balancing the reed.
Read on to learn about the steps for making your own reeds, and the equipment involved. You’ll also see the pros and cons of making your own reeds vs adjusting and balancing commercial reeds.
Table of Contents
Who makes their own reeds?
Double reeds
Most advancing and professional double reed players (oboe and bassoon) make their own reeds. They find the premade reeds unsatisfactory, preferring instead to custom make their own to their own specifications.
Many learn to make their own reeds by studying with a private music teacher who specializes in their instrument. Some double reed musicians find a professional reed maker who will hand make reeds for them.
Single reeds
The percentage of single reed players (clarinet and saxophone) who make their own reeds is not as high as double reed players, but some do choose to make theirs by hand.
Clarinetists make their own reeds more often than saxophonists. But the majority of single reed musicians feel that the machine manufactured pre-made reeds work well enough that it isn’t worth the time and money to hand make them.
Those who decide to make their own reeds are willing to put in the time and effort because they believe the end result is a higher quality reed which will last longer.
Steps to make your own reeds (single)

Premade reed blanks
Reeds are made from the cane arundo donax. This is the best type of cane for reed instruments. When making reeds yourself, there isn’t a synthetic substitute.
If you are just starting out making reeds, it’s probably a good idea to begin with premade blanks. That way, you avoid the added steps (and cost for equipment) of splitting the tube cane, planing, gouging and precutting the vamp.
A premade blank looks much like a reed, but the vamp isn’t completely finished. Various makers sell reed blanks, such as Gonzalez and Rigotti.
Reed profiling
This step involves cutting or sanding the vamp of the reed to the desired shape. Some people do this by hand using a reed knife, but most use a profiling machine.
Profiling machines
There are a number of profiling machines available that work very well. They basically work like a key cutting machine, using an existing reed as a template. A good machine of this type is the Robert Dilutis Reed Machine, which sells for $670.
Sometimes, the machine comes with a template that’s made of metal or plastic and is more durable than a cane reed.
Arguably the best type of profiling machines are the ones that use a very sharp blade to cut the vamp. These are able to match the template extremely well.
You place the template on one side and the reed blank on the other. As you move the blade, a guide follows the template so that the cuts match.
Another type of profiling machine is motorized, and it uses sandpaper to sand the vamp to the correct shape. These work well, but some feel the product is not as exact. The sandpaper also needs to be replaced frequently.
One of the best example is the Reedual machine, priced at $995.
Measuring the reed
Once you finish profiling, it’s important to measure the reed to ensure it is the correct thickness. Don’t count on being able to tell if the reed is correct by sight or by feel. The measurements we’re talking about are in the hundredths of millimeters.
You’ll need a reed gauge like the PerfectaReed (Amazon). It is made specifically for measuring reed thickness.
The most important measurement is the tip of the reed. Regardless of the strength of reed you want, the tip should be between .09 and .11 millimeters. The tip measurements determine the response you’ll get out of the reed.
Measure across the entire tip to ensure it is consistent. You may have to make minute adjustments to the profiler control which determines the thickness until you get the desired result.
Clipping the tip
At this point, you need to clip the tip of the reed so that the shape matches the rounded tip of your mouthpiece.
You will probably need to clip more than once, so only take off a very small amount at a time. At first, the reed will seem far too easy to play, but you can make small adjustments until it plays correctly.
Balancing the reed
A properly balanced reed should have the same resistance on the left side of the vamp as it has on the right.
To test this, twist the mouthpiece slightly in your mouth so that one side of the reed is closed off by your lips. When you play then, only one side of the reed is responding.
When you close off the right side, you’re testing the resistance of the left side. Is it responding quickly and cleanly? Now switch to closing off the left side. Is the right side response comparable to that on the left?
Once you know what needs to be adjusted on each side, you can use fine grit wet or dry sandpaper (400 or 600) to take off very little at a time. Try to avoid taking any cane off of the heart of the reed.
Pros and cons of making your own reeds
There are definite advantages and disadvantages to making your own single reeds. Those who prefer to make their own reeds believe:
- You have better control over the reeds you choose to play
- The sound and response is better
- A higher percentage of reeds are good compared to those in a commercial box
- Reeds are more consistent
- Reeds last longer
Those who choose to use manufactured reeds see disadvantages with making your own:
- It’s not worth the amount of time needed. You could be practicing
- It’s difficult to do well
- The equipment is expensive. A reed profiler can cost up to $1,000
- Manufactured reeds are becoming more and more consistent
DIY alternative: shaping commercial reeds
For many, the best answer is to break in and adjust manufactured reeds. By doing this, most people feel they obtain reeds that play more consistently and last longer.
If you play on reeds straight out of the box, they will be very inconsistent because the cane is changing depending on whether it’s wet or dry. Breaking in your reeds is not difficult, and it helps the cane adjust to changing from wet to dry.
When you first take a reed out of the box, play on it for only a minute or two. Stay in the low to middle registers so that it doesn’t have to vibrate very fast. Slur so that it doesn’t have to respond to articulation. Allow the reed to dry and store it.
For the first week, gradually play on the reed longer for each day. Eventually, you can add the upper register and articulated notes.
You can then balance the reed using the method described above, to ensure that each side of the reed responds in the same way. This can be done using sandpaper, or you can have a professional show you how to use a reed knife.
Final words
Many feel that making your own custom-tailored reeds is the way to go, while others feel they can get the same results with manufactured reeds. It’s good to experiment to see what works best for you.
Regardless of which method you choose, try different types and strengths. You may be surprised to find, for example, that you play more comfortably on a lower strength reed, or a different cut . e.g. Vandored blue box vs. V12.
The relationship between the tip of the reed and the tip of the mouthpiece is important. Any time you change your mouthpiece, you may have to adjust what you’re looking for in a reed.

